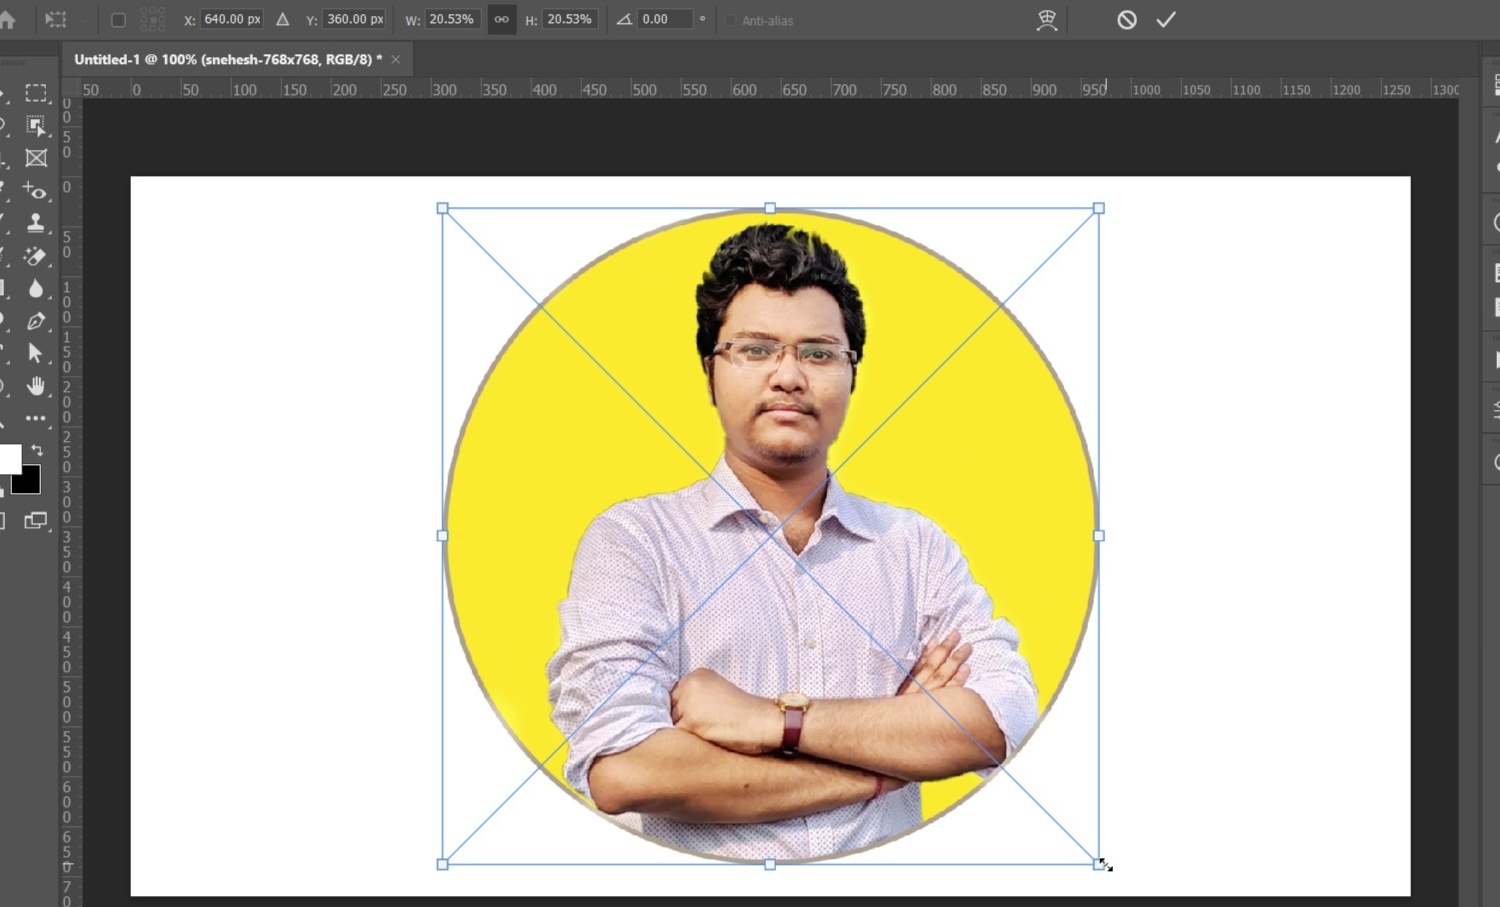
What is MOVE Tool in Photoshop
What are happening guys? it’s Snehesh Dutta. Welcome back to a different Photoshop tutorial, where I will show you guys how to use MOVE Tool in Adobe Photoshop CC. Once we click on file and place embedded and let me place any image like this image press and hold alt as I told you we will resize the image proportionally and once we have resized now press Enter then move it anywhere.
Why Move Tool is used
So with the move tool, we can move the layer in order that is named layer then file a place embedded like this one also I will be able to place and see if I press and hold alt and resize the image then press Enter now I can move it anywhere.
Supported Versions for Move Tool
You can find the move tool almost in every photoshop version. As it is a very basic tool for every photo editing software.
Shortcut of Move Tool in Photoshop
In photoshop V is used as a shortcut button for move tool. While using photoshop if you press V in keyboard, the move tool will be automatically selected from the tools panel.
Location of the Move Tool in Tool Bar

You can find the move tool on the top left corner of the tool bar in photoshop.
How to use MOVE Tool in Photoshop?
So if we move the tool we will select the objects to select the precise layer and that we can move anywhere again. so in this video also I explained the choices of the move tool like we can see we will move. here you’ll see short transform control like if we would like to resize this image in the future.
1. Select the Move Tool from the tool bar of the photoshop

2. Click on any picture or layer in the workspace.

How to Resize an image with the Move Tool
3. Press [[ctrl]] + [[t]], to enable the free transform

4. Click on any corner of the image resize guide, and drag your mouse to resize your image.

5. Click on the Right icon to apply the changes

Align image with the Move Tool’s properties
6. Click on the image or the image to align the image properly with respect to the canvas.

7. Click on the three dots and select canvas from the drop down under the “align to” section.

8. Check if your are selected or not, if not then just click on your image.

9. Click on the alignment icons to align the image. Clicking on the horizontal align icon will align your image in center of the horizon.

10. Clicking on the vertical center align icon will place in the center of the vertical.

11. Click here, for more transformation option.

Custom Resizing
12. Press shift while dragging the mouse to resize the image without maintaining the ratio. Changes will be applied only one side of the image.

13. Press Shift + Alt while dragging the mouse to resize the image without maintaining the ratio. Changes will be applied both side of the image.

14. You can use the free transform to show the image resize guide.

therefore, the transform control we can click here and transform control will appear then press and hold alt we can resize the image. you’ll see I can select any layer if auto select is disabled here so like immediately this layer is chosen. if I move this layer it will move but if I move my mouse here on this car image you’ll see this is often not selecting and still the girl layer is moving why because in layers panels.
you see the girl layer is chosen if I select this car layer now I can move the car layer or maybe I can resize because show transform control is enabled.
so what we can do for this thing we will check this option auto select so the auto select option should check now you’ll select any object without a selection of the layer from the layers panel and you ‘ll easily move in your document any object any layer in order that is named Auto Select and show transform control.
Video Tutorial of How to use Move Tool
I hope you’ve got learned about the move tool during this video and that we will proceed with our othe.r tools like rectangular marquee tool in the next video many thanks considerably for reading this article.
If you found this post helpful you can also view this video from our YouTube Channel.
