In this complete tutorial, I will tell you how to Change Car Colour in Photoshop And replace it with any other colors or any other custom patterns. Always remember that picture we will receive of any object or any cars are of four types.
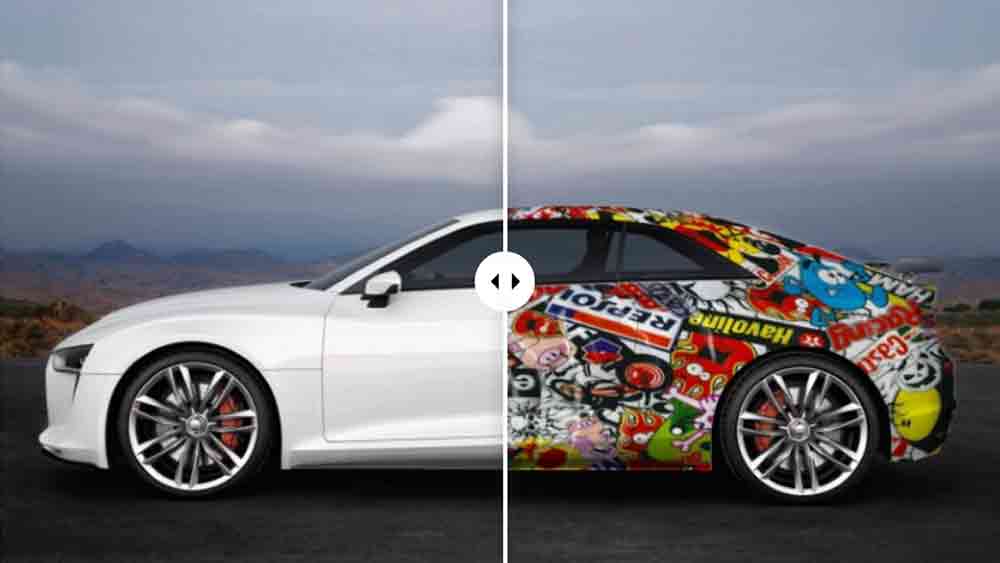
1) 2D picture of any object or any car where we can see only one single side of that particular object. As hair we can see only one side of the car which we we will used throughout this tutorial. As you can see we can only see one side door or one sided view of this white car.
2) the second one is the diagonal few are the the 3D view of that particular object where we can see multiple sites of that object.
3) now the third one is the colour of the particular object as here we are taking white colour as the object colour we have an object with different colour like red green or having any other type of gradient.
4) we may have an object with black as its body colour. And remember black colour has no type of sets and it doesn’t reflect any other colours so changing this type of images is quite tricky than the upper cases.
How to Change Car Colour in Photoshop?
Now I will explain you the complete process how you can change any car’s colour which some another colour or patterns. Follow these steps below :
1) At first we will create one duplicate layer by pressing control +j, of your sample picture of car.
2) Now select the area of the car where you want to apply your desired skin or colour. You can also create a layout marks to to hide the remaining background and just only select the the cars default skin or colour.
3) Now make a copy by pressing control + j. Now we have two layers of of the car’s skin.
4) Next place your pattern for skin over this layer. Or, if you want to give any custom colour you have to create and solid colour adjustment layer between of this two layers that we have created right now.
5) Next you have to clip this layer containing the pattern of the solid colour with the the lower layer where we have masked the car.
6) Then change the upper layer blend mode to multiply.
7) You can copy the upper layer with having multiply blend mode, to have a better shadows.


If there is still any type of confusion regarding this tutorial feel free to have a watch on our YouTube video. As we have created a dedicated video on how to change car color or pattern in Photoshop. We hope all of your doubts and problems will be sought out after watching this video.
Though in this complete post I have only explained one type of car color replacement trick. I am creating another tutorial where I will explain the remaining three types of color-changing tricks. So don’t miss the doors tutorial. I can assure you that those students will also become helpful for your designing career. You can also apply this click while changing cloth colors. Or at the time of creating any cover mockups or any poster mockups.