Give Painting effect in Photoshop CC
Giving painting effect in images by Photoshop CC is if very cool thing. It seems very beautiful and very artistic. So in this blog post, we will tell you how you can create this type of painting effect in your Photoshop by following some very simple and easy steps.
How to give painting effect in Photoshop CC :
I must say that there are various ways of creating the same effect in Photoshop. And the ways and decisions vary by the designer to designer. But the mean Moto of this blog post is to help beginners to create amazing photoshop editing in a very simple way so that he doesn’t get bored.
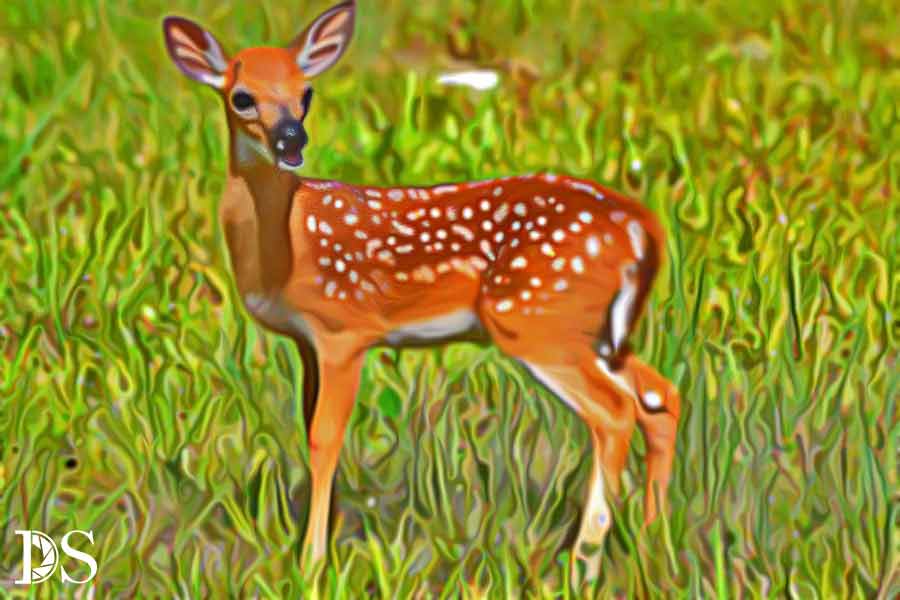
Choose your Image
At first, you need to choose your image where are you want to apply this type of painting an effect. I will recommend selecting an image containing any figure as it will look great after editing.

Adjust your Image
Now it’s time to adjust your image by implementing the simple regular adjustment layers available on the adjustment option in the layer panel. Adjust the hue, saturation, exposure brightness, shadows, and highlights. Adjust only if it necessary but remember to try to keep the original image real do not over saturated or overexpose the image color.
Make Copy of original
Press control or command j in case you are using Mac to create a duplicate layer of the original image. We will create duplicate layers of the original image. While editing in Photoshop the best practice is not to hamper or try to keep impact your original or source image.
Unsharp Mask
Apply answer marks in one of the copied layers. You will find this unsharp marks option from the filters menu in the menu bar of Photoshop. After clicking on the filter menu choose to sharpen then click on an unsharp mask. Move the slider until you can see any color of the image. Stop at that point you are able to see the color of your image. Now press apply.
Change its mode to multiply. And marge this image with the 1st copied layer. And make a new copy of the newly created layer by pressing control or command j.
Filter Diffuse
Now click on the filter option from the menu bar of Photoshop and click on stylized and next diffuse. Check the Anisotropic option. No rotate your image once and apply this filter once. Do it four times for four sides.
Fix blur
Now if you can see that your image is very blurry then create one answer marks of the previously copied layer. If you see that fixing blur is not needed for your image, simply delete that previously copied layer.
Now Enjoy
Now you can see your editing is completed. Uncheck the icon off the left side of your current layer to see the before and after effect in your Photoshop workspace. Hope you have loved this effect very much. If you are willing to post this on your Instagram or Facebook don’t forget to tag us by @duttastudioofficial . We are very much interested to see you editing and comment on that.

In case you want to do this effect in Photoshop created on Photoshop action file. You have just to play the action find and set the amount of the sliders of all the effects that will be applied automatically. If you use the excel file there is no need to do this separately. And this action file works very fine.
Hope this simple and easy tutorial was enough to make you understand how you can give painting effect in Photoshop CC. if you found this tutorial helpful then don’t forget to share it with your friends and follow us on YouTube and Instagram for more Photoshop tips tricks and tutorials like this.
I got what you intend, bookmarked, very decent website.
I am incessantly thought about this, thanks for posting.
Some really great info, Gladiola I detected this. I’m just saying your website is AWSOME! Thank you so much! Please visit also my website.
Really nice design and good subject material. Please also check my website. I love cars!