Photoshop is a powerful tool for graphic designers, photographers, and digital artists. One of its most useful features is the ability to work with layers, which allows for intricate and detailed editing. However, when it comes to exporting these layers, many users struggle to find an efficient method. This tutorial will guide you through the process of exporting all layers in a single folder using the batch export option in Photoshop. This step-by-step guide will help you streamline your workflow and save valuable time.
Introduction
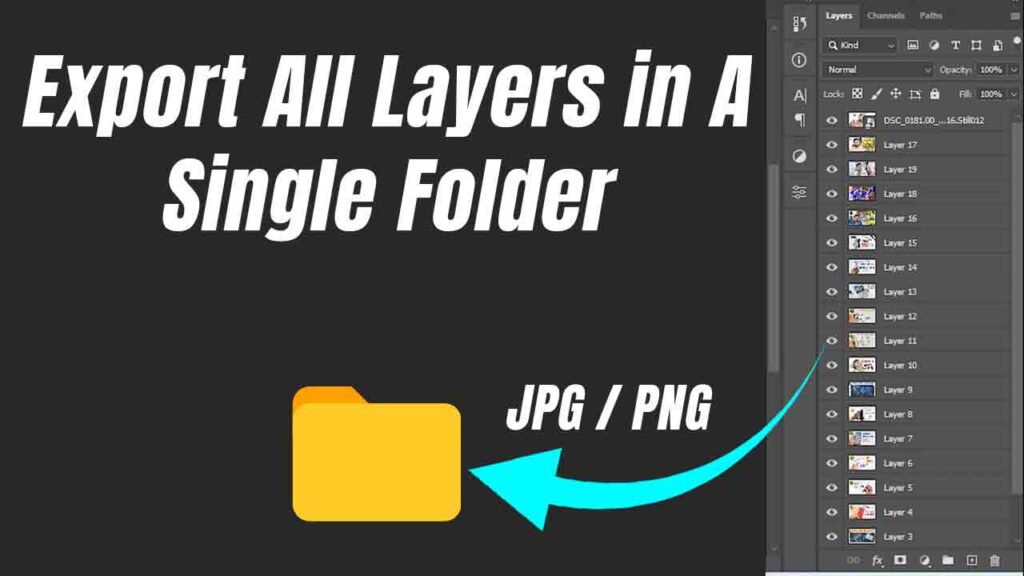
Exporting layers individually can be a time-consuming task, especially when dealing with complex projects with numerous layers. Adobe Photoshop’s batch export option offers a seamless solution to export all layers in a single folder quickly and efficiently. This tutorial will walk you through the process, ensuring you make the most of Photoshop’s features.
Why Use Batch Export?
Batch export in Photoshop is an excellent feature for several reasons:
- Efficiency: Export multiple layers at once, saving time and effort.
- Consistency: Ensure all layers are exported with the same settings, maintaining uniformity.
- Organization: Keep your exported files neatly organized in a single folder.
Whether you’re a professional designer or a hobbyist, mastering the batch export feature will enhance your productivity.
Preparing Your Layers for Export
Before exporting, it’s essential to prepare your layers. Follow these steps to ensure a smooth export process:
- Name Your Layers: Properly naming your layers makes it easier to identify them after export.
- Arrange Layers: Organize your layers in the order you want them to be exported.
- Visibility: Ensure only the layers you want to export are visible. Hide any unnecessary layers.
Using the Batch Export Option
Here’s a step-by-step guide to using the batch export option in Photoshop:
- Open Your Project: Launch Photoshop and open the project containing the layers you want to export.
- Go to the Layers Panel: Make sure all the layers you wish to export are visible in the Layers panel.
- Select Layers: If you want to export specific layers, select them by holding down the Ctrl (Cmd on Mac) key and clicking on each layer. If you want to export all layers, proceed to the next step.
- Open Export As Dialog: Go to
File>Export>Export As…. - Choose Export Settings: In the Export As dialog box, you’ll see various settings. We’ll cover these in detail in the next section.
- Batch Export: Click on the
Export Allbutton. Photoshop will prompt you to choose a destination folder. Select or create a folder where you want all your layers to be saved. - Finish Export: Click
Export, and Photoshop will batch export all the visible layers to the chosen folder.
Export Settings Explained
Understanding the export settings is crucial for achieving the desired output. Here are the key settings:
- Format: Choose the file format (PNG, JPEG, etc.) based on your needs.
- Scale: Adjust the scale if you need the layers in a different size.
- Metadata: Decide whether to include metadata in the exported files.
- Color Space: Ensure the correct color space is selected for your project.
These settings will affect the quality and size of your exported files, so choose them wisely.
Organizing Exported Files
Once the layers are exported, it’s essential to keep them organized:
- Naming Convention: Use a consistent naming convention for easy identification.
- Subfolders: If you have different types of layers (e.g., background, icons, text), consider using subfolders within your main export folder.
- Backup: Always keep a backup of your exported files to prevent data loss.
Tips for Efficient Layer Management
Efficient layer management can significantly streamline your workflow. Here are some tips:
- Group Layers: Use layer groups to keep related layers together.
- Color Coding: Apply color labels to layers for quick identification.
- Layer Comps: Utilize layer comps to create different versions of your project without duplicating layers.
Conclusion
Exporting all layers in a single folder using Photoshop’s batch export option is a straightforward process that can save you a lot of time and effort. By following the steps outlined in this tutorial, you can efficiently export your layers while ensuring they are well-organized and ready for use. Mastering this feature will undoubtedly enhance your productivity and make your Photoshop experience more enjoyable.
YouTube Tutorial Video
Remember to experiment with the export settings to find what works best for your specific needs. Happy exporting!